Halloween Body Art and SFX Supplies Checklist
Start with the finished look you want, then build your supply list around it. A painted spiderweb needs a different kit from an effect that uses a prosthetic. Buying for...

Start with the finished look you want, then build your supply list around it. A painted spiderweb needs a different kit from an effect that uses a prosthetic. Buying for one planned design helps you avoid a bag of products that do not work together.

Choose the design before choosing the products
Keep a reference photo or sketch beside your shopping list. Note the colors, the area you plan to paint, and the tools needed for each step. Decide which details matter most. A clear shape with a few well-placed lines can do more for a costume than extra layers you have not practised.
For painted designs, start with our Halloween costume face paint guide. For products with special application requirements, use the manufacturer's instructions when planning your kit.
Paint and application tools
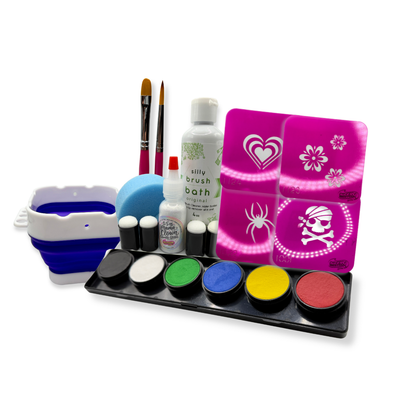
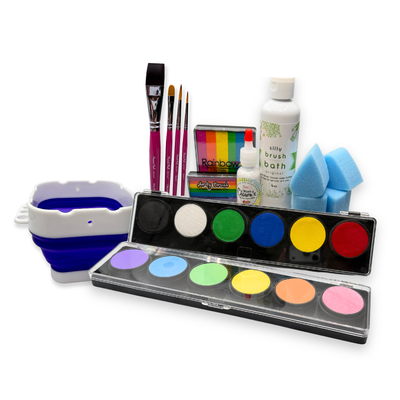
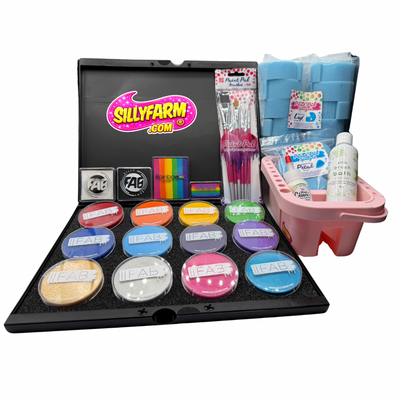
- Face or body paint labeled for the intended area and use.
- The colors needed for your reference design, including any outline or highlight color.
- A sponge for larger painted areas.
- A round brush for shapes and a fine brush for detail.
- A flat brush if your design uses a split cake.
- A water container and a clean working surface.
- A mirror, good lighting, and a reference image you can see while painting.
Check what is already in your kit before buying. A product you already know may be a better choice for costume night than an unfamiliar material bought at the last minute.
If your look includes special-effects materials
Make a separate list for any prosthetic, adhesive, texture product, or fake blood in your design. Read the instructions for each product before combining them. Do not assume an adhesive or remover is suitable for every material.
Write down the required remover alongside the product it belongs to. Include the application tools specified by its manufacturer. If the instructions do not cover the combination you want to use, ask the manufacturer before applying it.
You can also keep the effect entirely painted. A stitched line, illustrated scar, or row of monster scales can give a costume its character without adding another material to your kit.
Pack for removal as well as application
- The removal products named on each label.
- Clean towels and the supplies needed for your chosen removal method.
- A bag or container to separate used tools from clean ones.
- The product instructions, kept with the kit rather than thrown away with the packaging.

Follow the label for removal. Avoid treating all paints, adhesives, and effects products as if they come off the same way. Our face paint safety guide covers more points to check before you start.
Do a practice run before Halloween
Practise the design and its removal before the event. This shows you which brush sizes work, which details you can repeat, and what you forgot to pack. Follow product directions for any pre-use testing.
Take a photo of your practice design and use it as your reference. If a step is awkward, simplify the design before costume night. Keep the products and instructions together so you are not searching for a remover after the party.
Final kit check
You should be able to match every material to an application step and a removal step. Check that the labels cover the intended use, that your tools are ready, and that your costume will not rub across a freshly painted area.
Browse the Halloween Shop for the supplies on your list. For brushes you will use again after Halloween, see our guide to face paint brushes.